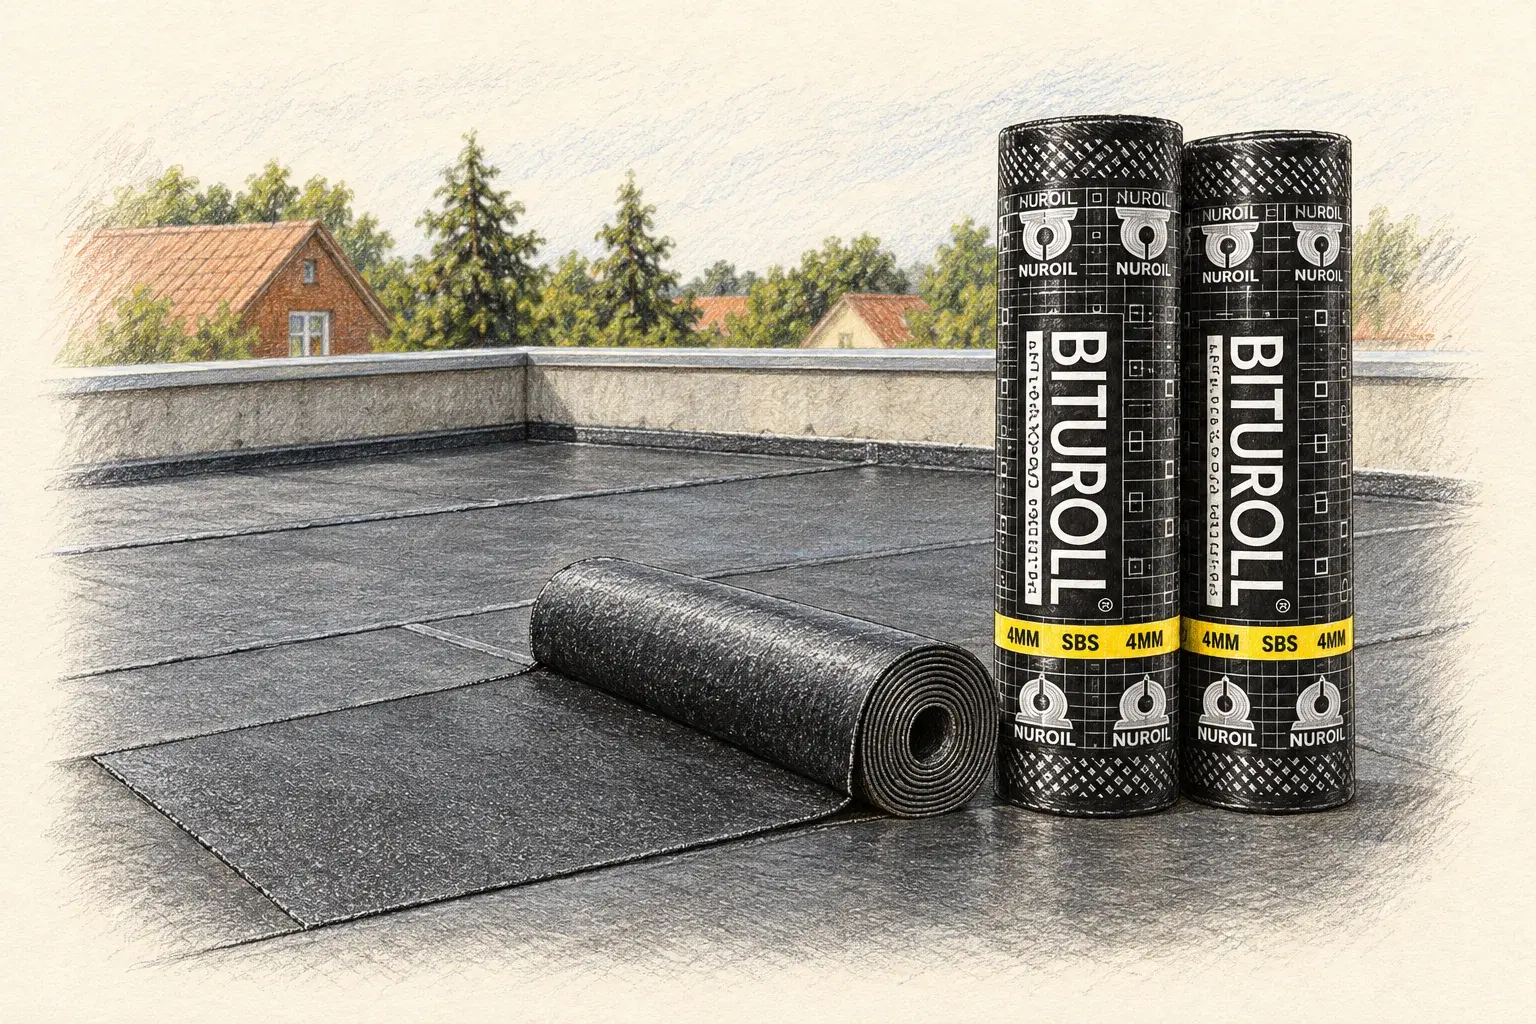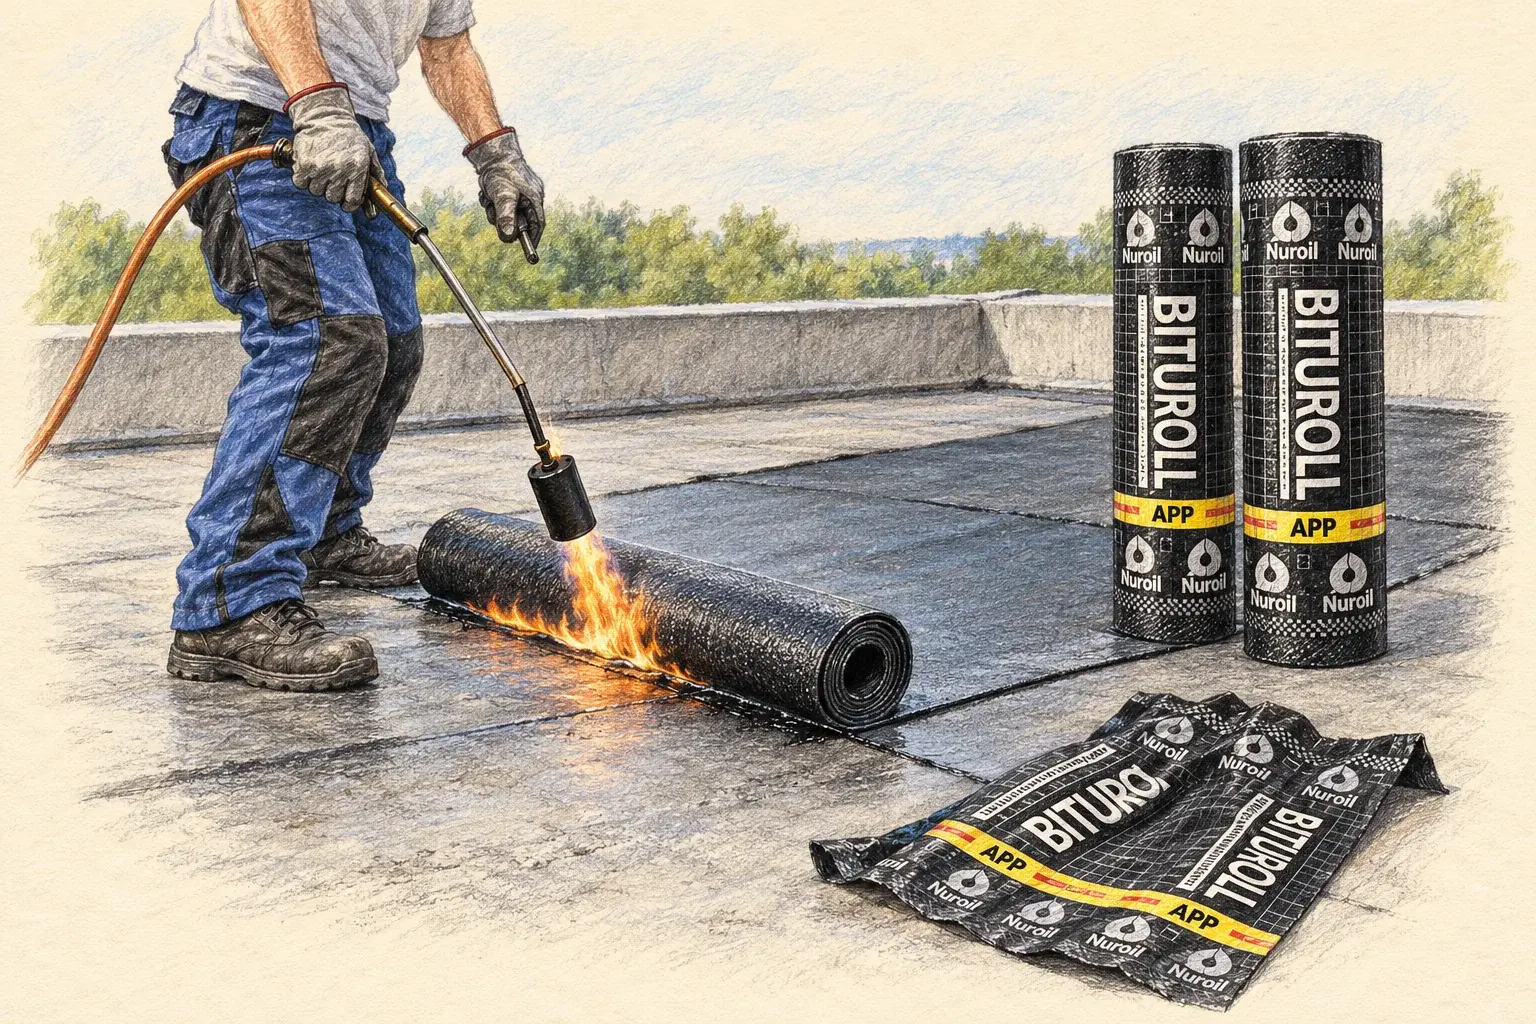
Torch-applied membranes are polymer-modified bitumen sheets with a thin layer of bitumen on the underside. A gas torch melts that layer so it bonds to the primed deck or to the sheet below. Done well, the result is a fully bonded, continuous membrane. Done badly, the laps leak and the sheet blisters. This guide summarises the key steps. Always follow the specific manufacturer's instructions, which take precedence over general guidance.
Before torching
- Deck condition: concrete must be cured, dry, sound and free of laitance, dust, oil and sharp projections. Falls should lead water to outlets.
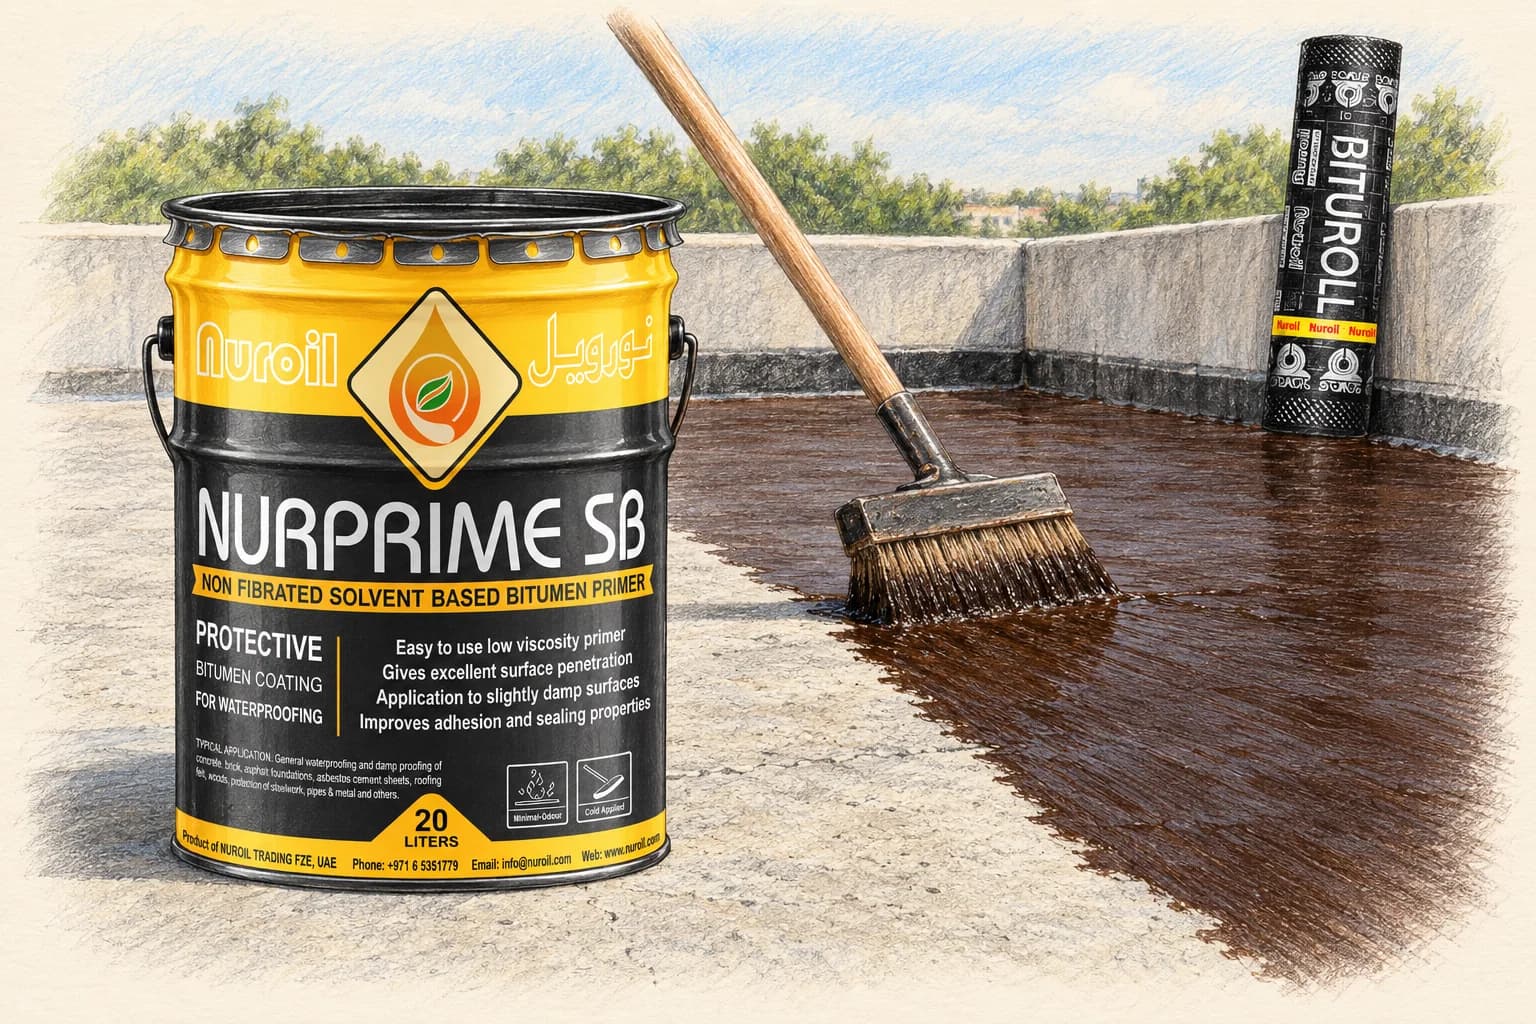
- Primer: apply bitumen primer evenly at the stated rate and let it dry fully. Solvent vapour from wet primer is a fire hazard under a torch.
- Weather: do not work in rain, on a wet or frosty deck, or in strong wind that pushes the flame.
- Layout: dry-lay and align rolls first. Start at the lowest point so laps shed water, like roof tiles.
- Fire safety: keep extinguishers at hand, keep gas cylinders upright and away from the flame, and check that the substrate and nearby materials are suitable for open flame. Use a fire watch after work stops, as required by local rules.
Laying the sheet
- Unroll the sheet in position, then roll it back up from both ends to the middle.
- Heat the underside of the roll and the deck in front of it, moving the torch in a steady side-to-side sweep across the full width.
- Unroll as the bitumen melts, pushing the roll forward so a small wave of molten bitumen forms in front of it.
- Do not overheat: heavy smoke, a shiny burnt surface or damaged reinforcement are signs of too much heat.
- Press the sheet down firmly, using a roller where the surface allows.
Laps and bleed-out
Laps are where most leaks start. Typical dimensions are shown below, but the manufacturer's figures govern.
| Item | Typical requirement | Notes |
|---|---|---|
| Side lap | Around 75 to 100 mm, often marked by a selvage line | Fuse fully across the whole width |
| End lap | Around 150 mm | Stagger end laps between adjacent rolls |
| Bleed-out | A continuous bead, commonly about 3 to 10 mm | Proves the lap is fused; no bead means no bond |
| Corner cut | Trim the selvage corner at end laps | Avoids a T-joint leak path |
After fusing, roll every lap with a steel lap roller and check it with a trowel tip. On mineral-surfaced cap sheets, press matching granules into the fresh bleed-out for a uniform look and UV protection.
End laps on mineral-surfaced sheets
Bitumen will not bond reliably to loose granules. Before the next roll overlaps a mineral surface, the granules in the lap area must be embedded: heat the area until the granules begin to sink, then press them in with a hot trowel. Roofing industry guidance treats this step as mandatory, and warns that torching over loose granules creates a direct leak path. Prepare the end lap before the next roll arrives, so residual heat does not overheat the new sheet.
Details
- Upstands: carry the membrane up walls to the specified height, usually with a separate flashing piece, and terminate it in a chase or under a metal bar.
- Internal corners: form a fillet or chamfer first, so the sheet does not bridge an empty corner.
- Outlets and pipes: use pre-formed collars or reinforcing pieces, and torch them in before the main sheet.
- Two-layer systems: offset the cap sheet laps from the base sheet laps.
Inspection and protection
- Walk every lap and probe gently for unbonded edges.
- Look for blisters, wrinkles and burnt areas.
- Flood-test where the specification calls for it, before covering.
- Protect the finished membrane from following trades with boards or a screed.
A continuous bead of bleed-out at every lap is the simplest visual check that the seam is sealed.
Ordering materials for a torch-on job
List the membrane polymer (SBS or APP), thickness, reinforcement, surface finish, roll dimensions and number of rolls, adding 10 to 15 percent for laps and waste as a common planning margin. Include primer quantity based on the data sheet coverage rate. Ask for product data sheets, batch test certificates and the primer SDS. Nuroil can supply membranes and primers together; send details through a quote request.