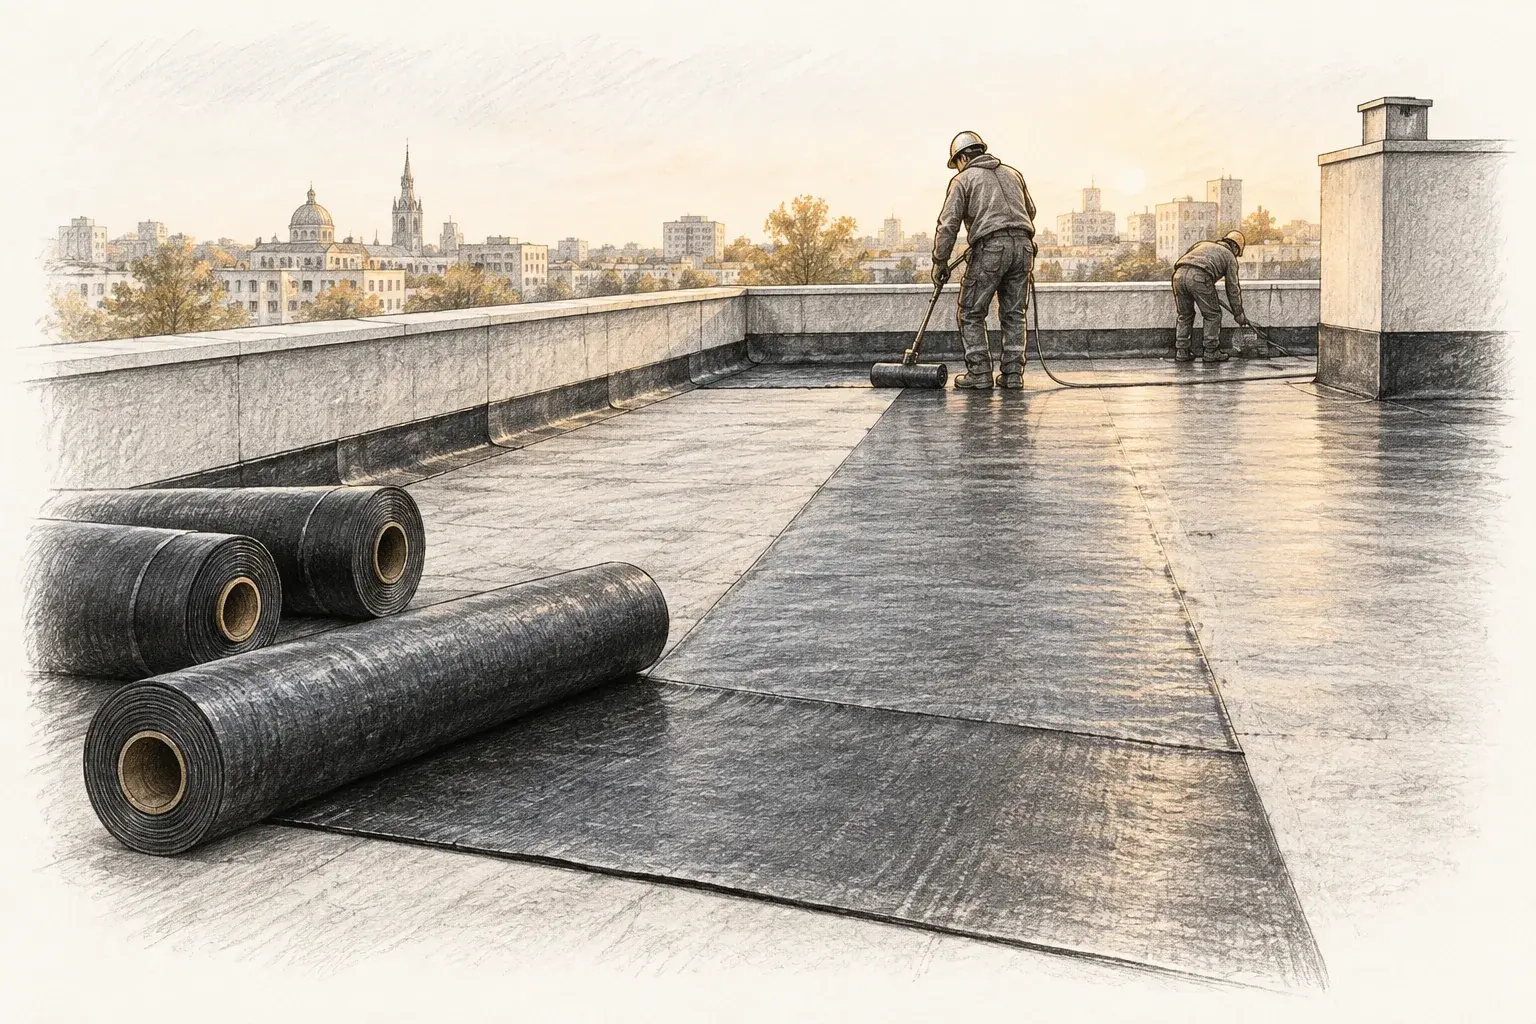
Most leaks in membrane roofs start at details rather than in the open field of the roof. Upstands, outlets, pipe penetrations and edges concentrate movement, water flow and workmanship risk. SBS modified membranes are well suited to detail work because their flexibility lets them be folded and formed without cracking, but the details still need planning. The membrane manufacturer's instructions and local codes always take priority over the general points below.
Upstands at walls and parapets
UK guidance for flat roofs, including the house-building warranty standards, calls for waterproofing upstands of at least 150 mm above the finished roof surface. Where the roof carries ballast, paving or insulation on top, the 150 mm should be measured from the top of that finish, so the height of the substrate has to be planned accordingly. Rooflight kerbs, door thresholds and cills may need raising to achieve it.
- Prime the upstand as well as the deck, and allow the primer to dry.
- Form a fillet or angle at the junction so the membrane does not bridge a sharp 90° corner, which concentrates stress.
- Use separate strips for the upstand rather than turning the field sheet up the wall. The upstand strip laps onto the field membrane and is fully bonded.
- Protect the top edge with a counter-flashing fixed into the wall, or a termination bar sealed at the top. Where a cavity tray exists, it should discharge above the counter-flashing.
Outlets and drains
Outlets should be located at the lowest points of the roof, with the opening properly trimmed and the outlet body fixed securely to the deck so that thermal movement of the downpipe cannot displace it.
- Lay a reinforcing piece of membrane around the outlet before the main layers.
- Bond the field sheets into the outlet flange or clamping ring according to the outlet maker's instructions.
- Avoid laps running into the outlet; arrange the layout so laps shed water past it.
- Fit a leaf guard or gravel guard, and keep the sump free of ridges where water can sit.
Pipes, vents and other penetrations
Round penetrations are best handled with a preformed collar or sleeve that has a flange to bond to the membrane, plus a clamp or sealed top. Cut membrane pieces are then built up around it in layers. Groups of pipes placed too close together are hard to waterproof; a minimum gap between penetrations, and between penetrations and upstands, should be agreed at design stage so each one can be detailed properly.
Edges, gutters and expansion joints
- Roof edges: a drip or edge trim should direct water clear of the facade, with the membrane dressed over and sealed to it.
- Gutters: line with membrane in the same build-up as the roof, with extra reinforcement at falls and outlets.
- Expansion joints: use a loop of membrane or a dedicated joint profile that allows movement, rather than bonding straight across the gap. Polyester-reinforced SBS is preferred here for its elongation.
Common detailing faults
| Fault | Typical result |
|---|---|
| Upstand below minimum height | Water over the top during ponding or wind-driven rain |
| Sharp corner without fillet | Membrane bridges and splits under movement |
| Unprotected top edge | Water tracks behind the membrane |
| Lap facing up-slope at outlet | Water driven into the lap |
| Exposed cut edge of sanded underlayer | UV ageing at the detail |
Plan details on the drawings, not on the roof. Height, fillets and laps are much harder to correct after the deck is built.
Ordering for details
Detail work uses more membrane per square metre than the open roof, so allow extra in the quantity, and order the same cap finish for upstand strips so the exposed surface matches. Primer, preformed collars and termination bars should be ordered alongside the membrane. Nuroil can supply SBS rolls and associated products with data sheets; contact our team through the contact page with your roof area and detail schedule.